Showing posts with label TopWater. Show all posts

Monday, March 02, 2020

Cicadas!


One of the most enjoyable part of fly tying for me is definitely tying terrestrials. Great summer fun flies to fish, top water action that catches many species of fish from trout, carp, chubb, to masheer.
I wish we had more species here in Ireland to chase on terrestrials....
This tie was one that i wanted to fish for a long time, the cicada. Cicadas have always fascinated me from a young age living in the south of France. That characteristic noise they make with their wings in the summer months  and their amazing life cycle makes for a very special insect. The hatch can take from 2 to 17 years to happen depending on the type of cicada!
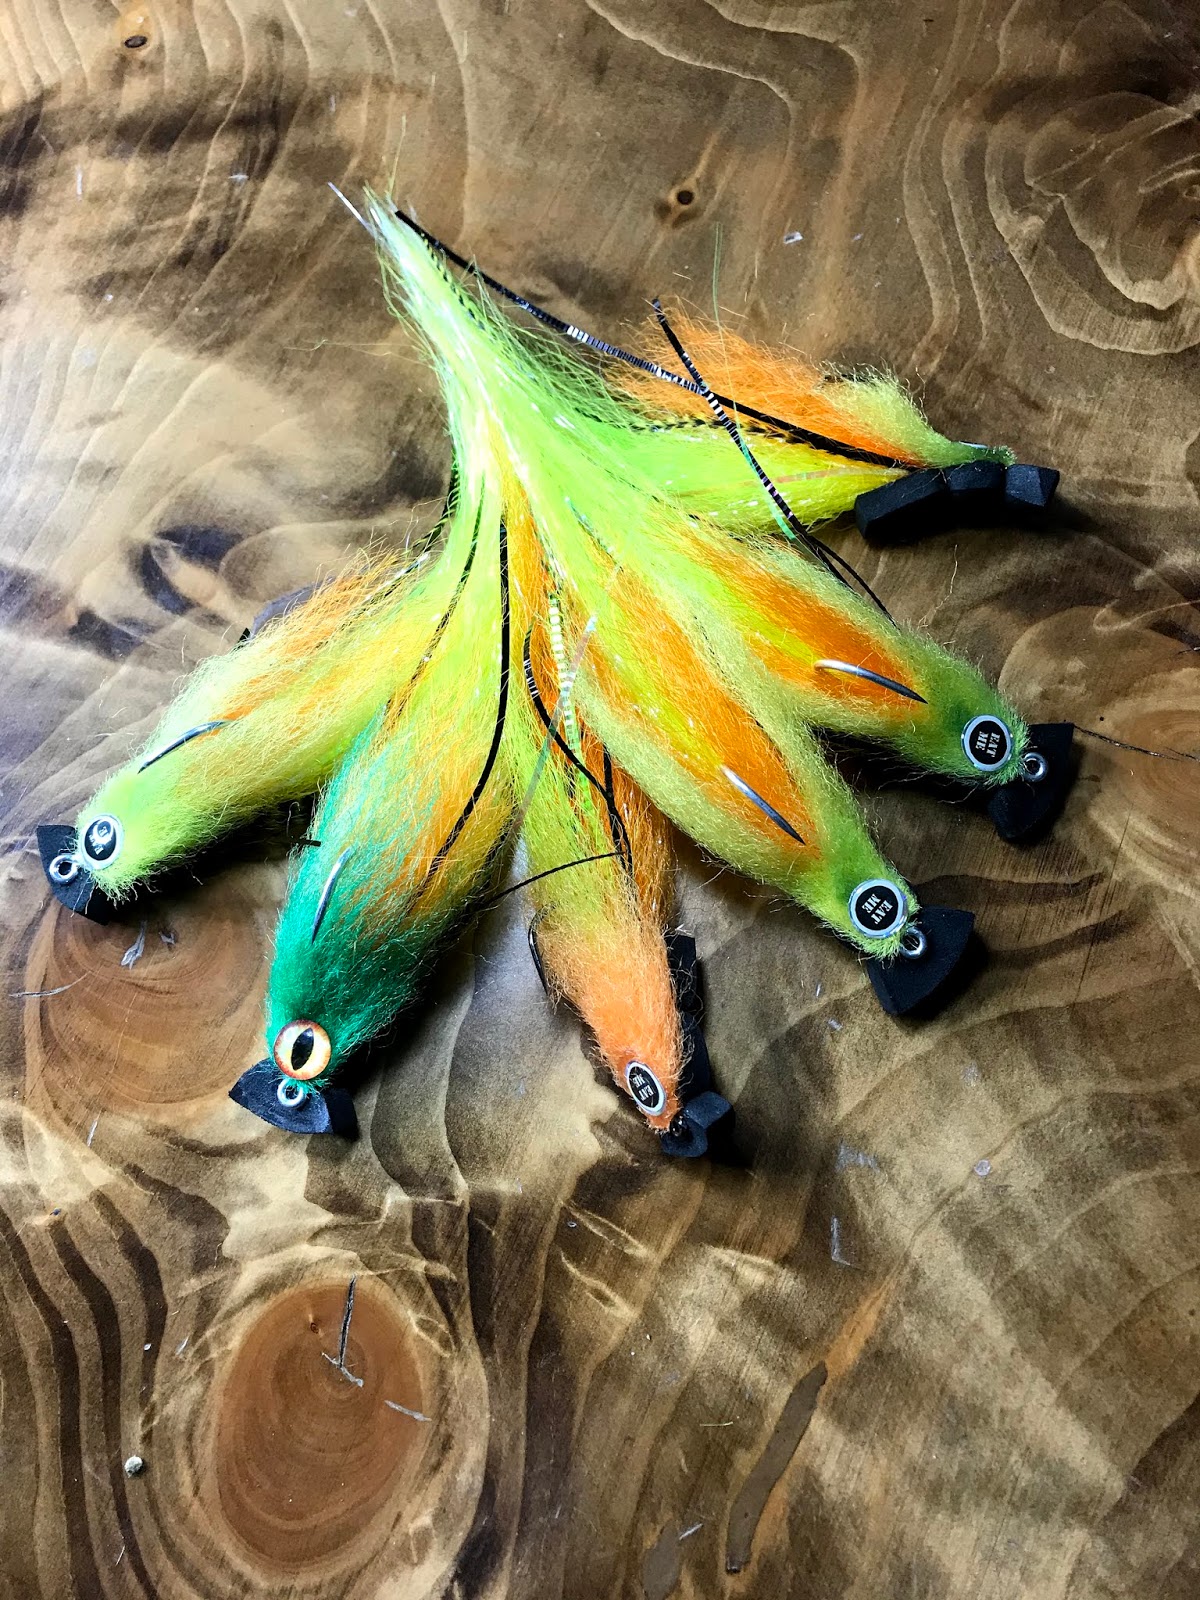
So with the Amazon trip planned for next November i had to tie a few  ( it's a good excuse anyway to carry a few in my box). These are slightly on the big size, but can be tied smaller to suit your area and fish targeted.
I tied them this time on Gamakatsus C70SD Big Game in size 1/0. Largely inspired from Dron Lee ties and Hernan Tulá  i came up with these supersize Cicas!
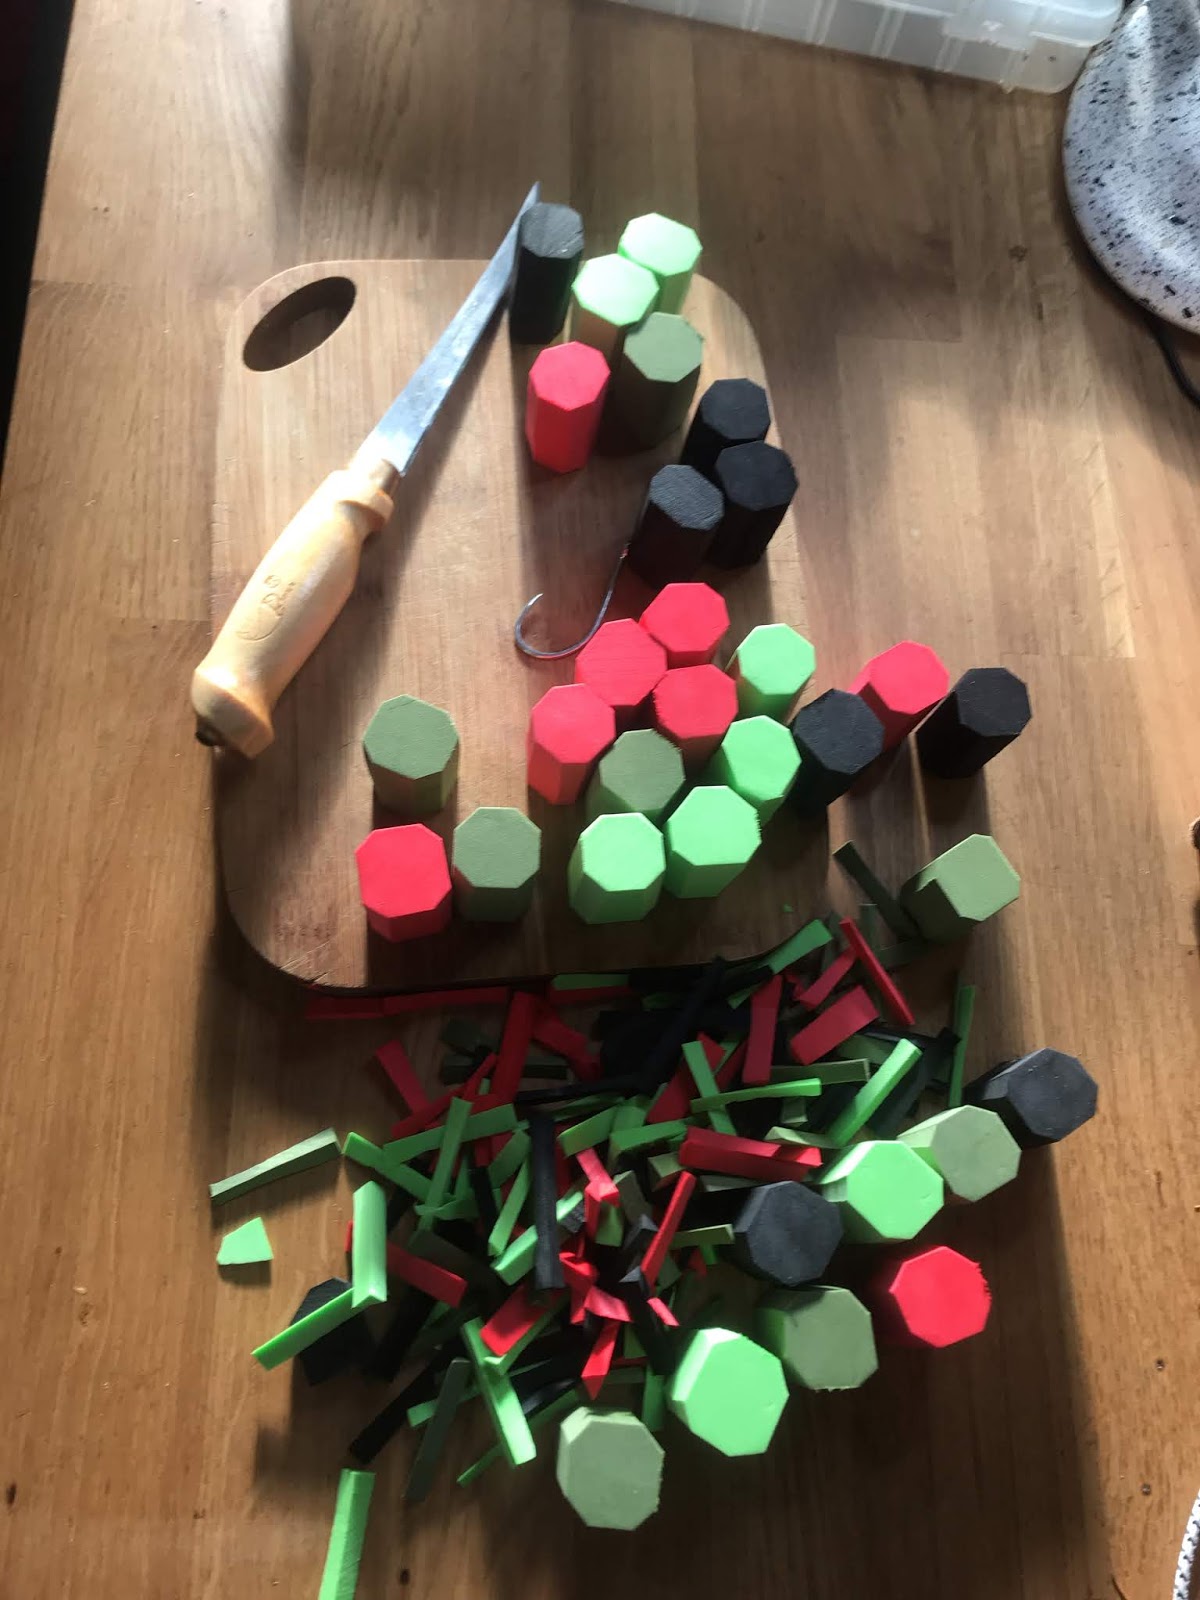
All you need for this tie is some 3mm foam for the body and some 2mm foam for the head. A little bucktail for the wings, some round rubber for the legs and some home made eyes with a couple of beads on a bit of mono.
I made these as tooth proof as i could for the Amazon, but normally if you chase chubbs, trouts , bass or carp you don't really need to coat them with anything.

  • First cut out the body parts, the belly and the back. You can use the same colour or two different ones. This is 3mm foam.

  • Now put some thread on your hook to give the glue more grip


  • To add volume and buoyancy glue a strip of 2mm foam


  • Then glue in place the top part


  •  Trim the edges

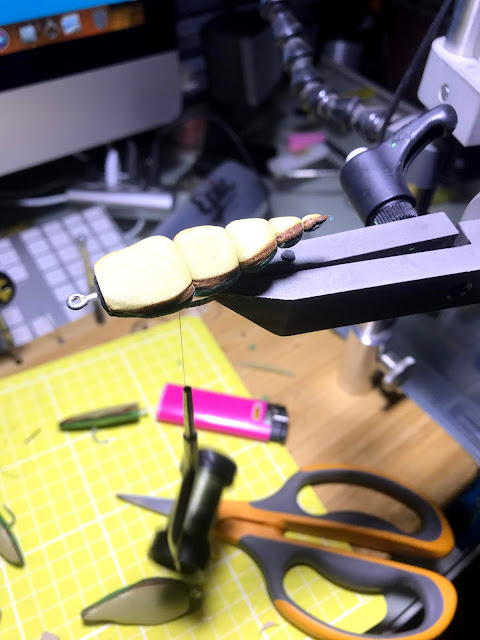
  •  Now for the tricky part, burn and weld the sides. Better to try this on some loose foam first to get used on how much heat and how fast the foam you use will melt. Burn and squeeze to weld the sides, then trim the welds with scissors to give a clean finish.
  •  Shape the body with a few wraps of thread to make about 4/5 sections
  • Add the legs now( round rubber) and the wings (bucktail)


  •  Making the eyes is fairly straight forward, put two beads on some thick mono and burn to hold in place

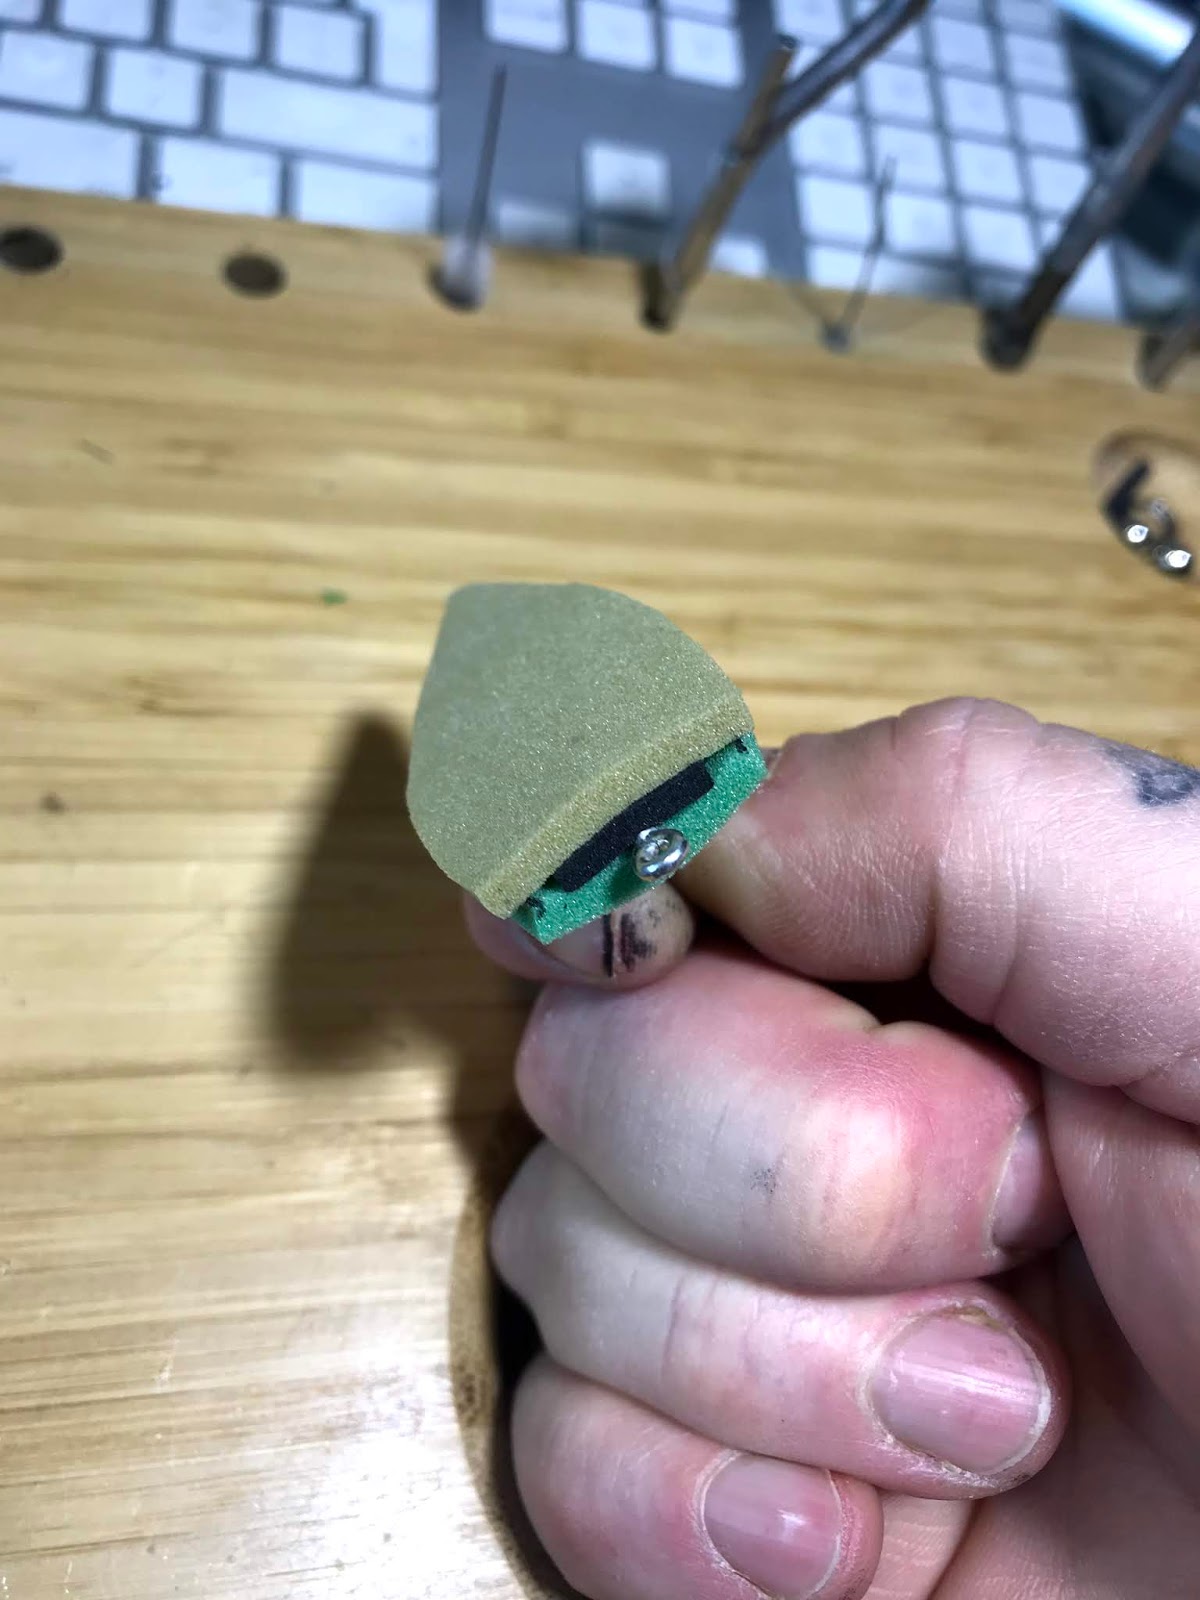
  •  Tie the eyes in front of the foam body and cut the 2mm foam to make the head.This foam is cut like a long tear drop shape. Bring the thread forward a little (in front of the legs/wings part) Tie the narrow part of the "tear drop " underneath the measure where the eye of the hook need to come out. Burn this hole with a hot needle for a better finish.


  • Nearly finished, bring the foam over the top of the head, pass the hook eye through the hole on the foam and secure with a few wraps directly behind the eyes. Bring the thread back a bit and secure an other section. The fly is now complete.Secure with some glue, add some details with a Sharpey and you're ready to fish!

  • As i mentioned at the beginning, i'm hoping that these will get crushed on the Amazon, so they need to be strong and resilient.For this i add a thin coat of some Gorilla clear glue and let it spin and dry for a good two hours.


 Here's a few videos on how effective this pattern can be when fished at the right time, i will let you know how mines do on the Amazon when i come back from this trip!


Thursday, February 27, 2020

Jungle Crease

Largely inspired by the crease flies from Rupert Harvey these flies just look the job to take with me to Guyana. Tied on a Gamakatsu SL12S 8/0 with an internal large rattle, they are bound to be noticed by some angry wolf fish....
More time consuming than being  difficult tie, the crease fly has nothing more to prove. A great salt water pattern that's also a killer on freshwater predators.
For the tail i wanted something visual and with great movement on the strip and during the pauses. I could've went with feathers or bucktail , but i just love using faux shammy leather. A synthetic material, it doesn't absorb too much water, keeps it's shape once dry , moves so naturally in the water and it's very resilient. I use it all the time for pike i never had once sliced apart.
For the tie i simply fixed the rattle on the hook, wrapped it with some 2mm foam strips (secured with superglue). Them cut the tails to shape, glued them on the crease body with some lateral scales for added life. Gorilla glued the crease body and tail to the hook a little airbrush and a final coating of Gorilla clear glue ( thanks Rupert for the tip !) Spin dry for a good cpl of hours and let to dry for a further 24 hours.
  • First , hook prep:


Large rattle tied to the hook.

Wrap the rattle a few times with some 2mm foam

Hook ready! Simple.


  • Crease body and tail prep:
    Crease body cut into 2mm foam sheet
    Simple but effective tail design


Glue in place two lateral scales first (black &peacock here)

Then glue the tail and two more lateral scales on top

Cover the inside with some Gorilla Super glue, let dry for 10 seconds and stick on hook

Squeeze and hold, super glue works very fast on foam so be sure of the foam position before sealing the deal!

The rattle and foam give the crease a fantastic profile!

Stick some eyes, a  little more airbrushing and ready for the final step.

All ready for a nice coat of Gorilla clear glue.


  • Finished ties:


Monday, February 10, 2020

The tying sessions EP:33 RAMSEY'S CYCLOP


An other top water pattern, this one was originally designed for taimen if i'm not mistaken. It represents a dying baitfish flapping on the surface. The action is a mix between a skid and a popper. Normally used in rivers this fly will feel at home on stillwater too. I have fished this fly for pike in the margins and over weedbeds with good success and i'm sure if tied in different sizes it will tempt many other predators from bass to GT and peacock bass.This fresh batch if coming with me for the Guyane trip!

As usual feel free to change colors and hook size. For pike i like to use the Sakuma Mantas and for more exotic  species i always trust a good Gamakatsu SL12S.


Wednesday, February 05, 2020

The Tying Sessions, EP:32 The Drowning rodent 2.0

I always liked fishing mice/rat flies. I remember when i was much younger, i was fishing with my father, we were on a river and his float fished roach disappeared in a flash. The fight was poor and short as the water temperatures were very low. Sadly after many efforts that fish decided to stay belly up. We decided not to waste it and  took it home. But when we cleaned it at the river, he had in his stomach three full grown rats, and that pike was not big pushing maybe just 3 kgs!
Since that day i cannot have a fly box without at least a couple of rats!
Tried and tested...Many times over

I like to fish them on a floating line, early spring (end February , March, April ) When most anglers wouldn't dream in using a topwater fly at this time of the year, i usually score some good fish on this pattern early in the year. Rats and mice are in full activity at this time, ready to start breeding after their long winter they often cross rivers and loughs simply because its the shorter route. Later in spring you will have the young ones, a little inexperienced and without any fear of what might lie beneath them when they fall in the water.
Later in the year, summer time , i like using these rats for late evening if it's a bright hot day, and if you have a summer like us here in Ireland (rain and not so hot...) you can be deadly fished over big weed beds. Not just margins and lillypads.
I started using deer hair for the top of the tie to give it buoyancy and Congo hair on the belly to make it sink. I caught many good fish with this tie, but i knew i could improve it's action a lot more.
This is the results, the drowning rodent 2.0! I use two types of fibers now, WATER SILK and CONGO HAIR from FLY TYERS DUNGEON .
The water silk is finer it olds and absorbs more water, the Congo hair is a little stiffer and doesn't hold water much. But water still sheds fast with a couple of false cast making this fly a lot easier to cast then it's original deer version.

 I use the water silk for the bottom of the tie(tail and first section) and introduce the Congo hair on the third shank but only on the top of the shank, belly stays in water silk. Finish the head with the foam, give it a good brush and trim.
You could make this fly with a brush instead of stacking like i do, bit stacking gives you advantages that you can't match with a brush...Using two type of fibers is one and the choice in colours that you have at your disposition.

I hope you enjoy the video, and thanks again for your continued support!


Saturday, February 01, 2020

Jungle flies , the Disco Biscuit !

The jungle box is growing by the day!This time we stay with some top water madness, the Disco Biscuit!
A head that skim the surface with a little dive action, but its the engine at the back that makes all the commotion! Most of them are tied with strong metal propellers, as the crushing power of the Aimara is immense and i try to tie flies that will be used for more that one fish....
On the fire tiger model i put small quad props, they are made of plastic but feel very strong....We will see if they hold... The tails are tied on 30lbs single strand titanium, a prop , a bead and some northern lights flash.
It's a pretty simple tie but it requires time. The making of the heads has to be home made as they need to match your chosen hook.In this case i am using one of my favorite hook, the Gamakatsu SL12S in 8/0.
A weedguard is essential to be able to cast into deep wooden cover without the fear of snagging.You can be more adventurous with your casting when you have a quality weedguard.
I use a double 80lbs fluorocarbon, as i said before the power of the jaws of the wolf fish is so important that a stiff weed guard won't get in the way of a good hook up.
I finished the tie with a good coating of epoxy. I rarely use UV resin for my heads as i find none of them have the solidity of the epoxy.
  • Head building:

Cut your block into rectangles close to the size that you need.

Cut the sides to start to get a rounded shape

Place in a drill and shape using sand paper.

Cut the bottom part.


  • Head decorating: Airbrush/Sharpey, stick some eyes.
  • Tail preparation:
30lbs titanium and a clevisse crimp.


Secure the tread with superglue+ uv resin
  • Secure tail onto the hook: 

Place the bead +prop
  • Tie the weed guard:

  • Place the head, secure with super glue and tie the weed guard at the front:

Secure with figure 8 tying


Measure and burn the tips to create a mushroom head.

  •  Finishing the tie, epoxy the head.


I like to add a little glitter for some heads to get that extra bling.
 

Red or dead


Nebula!!! one of my favorite finish!

Fire tiger