
One of the most enjoyable part of fly tying for me is definitely tying terrestrials. Great summer fun flies to fish, top water action that catches many species of fish from trout, carp, chubb, to masheer.
I wish we had more species here in Ireland to chase on terrestrials....
This tie was one that i wanted to fish for a long time, the cicada. Cicadas have always fascinated me from a young age living in the south of France. That characteristic noise they make with their wings in the summer months and their amazing life cycle makes for a very special insect. The hatch can take from 2 to 17 years to happen depending on the type of cicada!
So with the Amazon trip planned for next November i had to tie a few ( it's a good excuse anyway to carry a few in my box). These are slightly on the big size, but can be tied smaller to suit your area and fish targeted.
I tied them this time on Gamakatsus C70SD Big Game in size 1/0. Largely inspired from Dron Lee ties and Hernan Tulá i came up with these supersize Cicas!
All you need for this tie is some 3mm foam for the body and some 2mm foam for the head. A little bucktail for the wings, some round rubber for the legs and some home made eyes with a couple of beads on a bit of mono.
I made these as tooth proof as i could for the Amazon, but normally if you chase chubbs, trouts , bass or carp you don't really need to coat them with anything.
- First cut out the body parts, the belly and the back. You can use the same colour or two different ones. This is 3mm foam.


- Now put some thread on your hook to give the glue more grip


- To add volume and buoyancy glue a strip of 2mm foam

- Then glue in place the top part
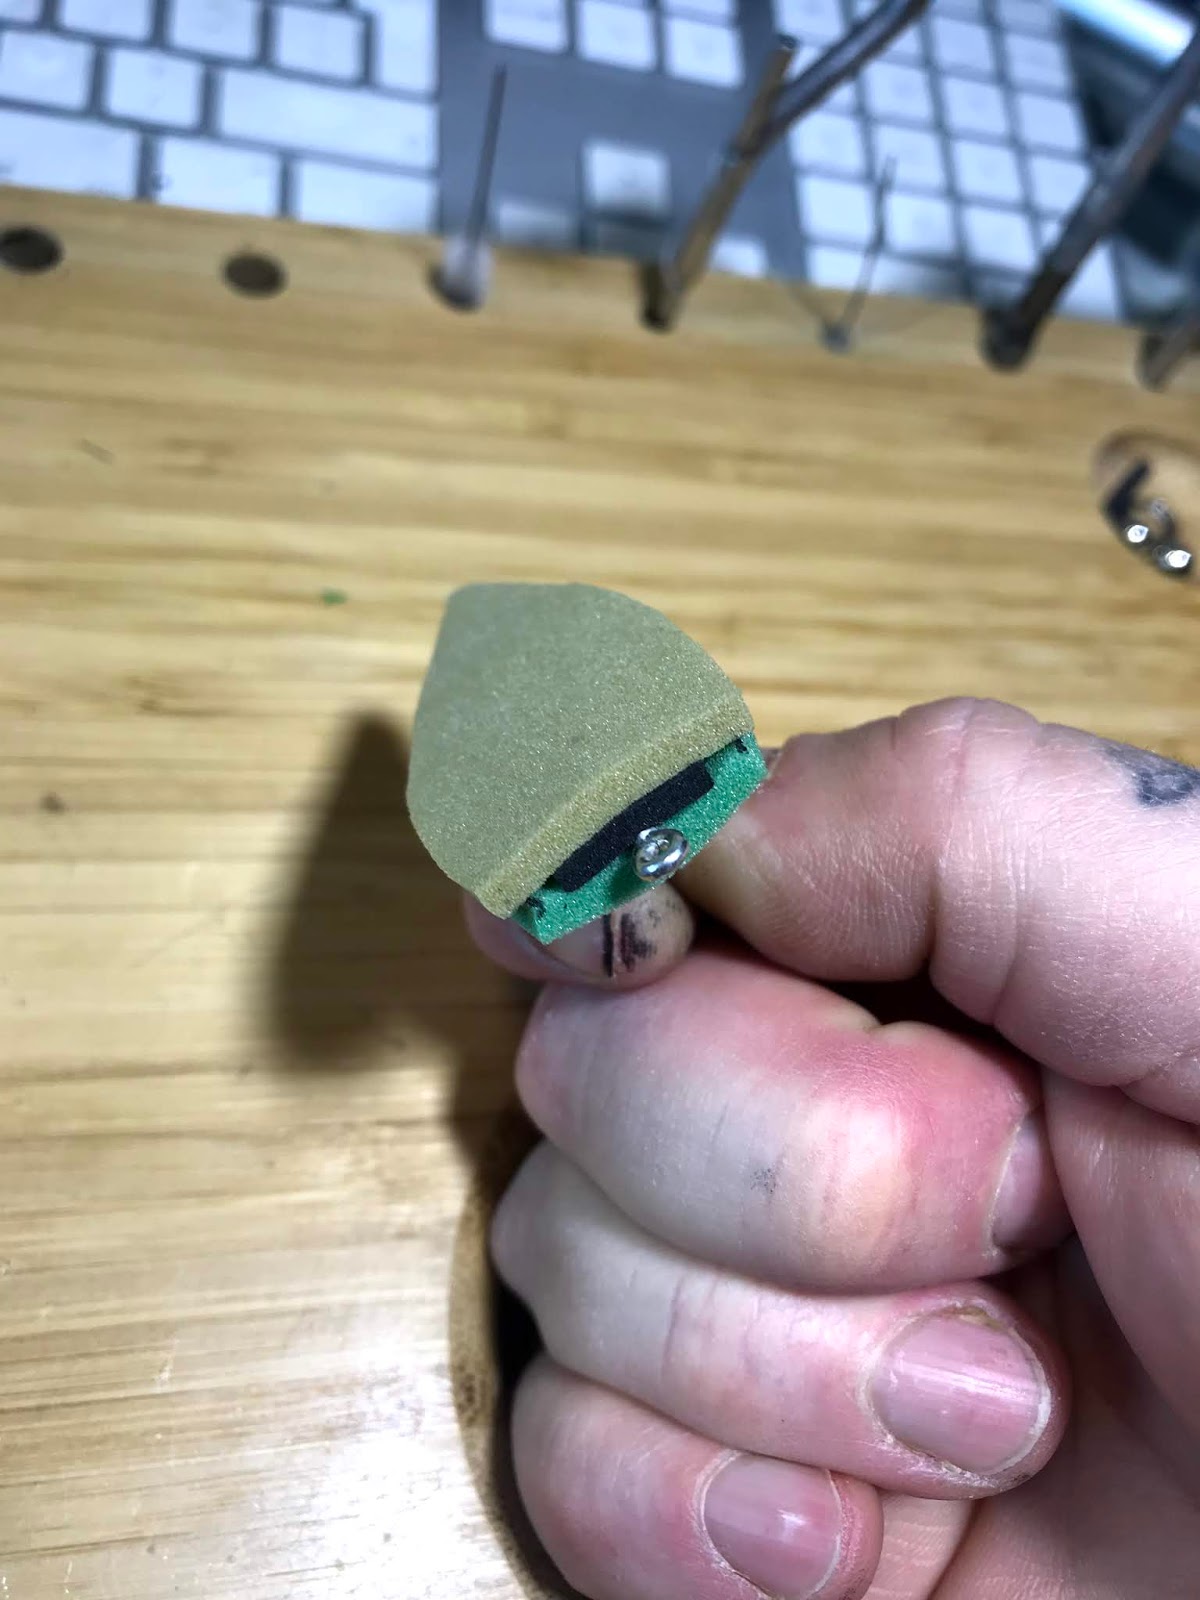
- Trim the edges


- Now for the tricky part, burn and weld the sides. Better to try this on some loose foam first to get used on how much heat and how fast the foam you use will melt. Burn and squeeze to weld the sides, then trim the welds with scissors to give a clean finish.


- Shape the body with a few wraps of thread to make about 4/5 sections
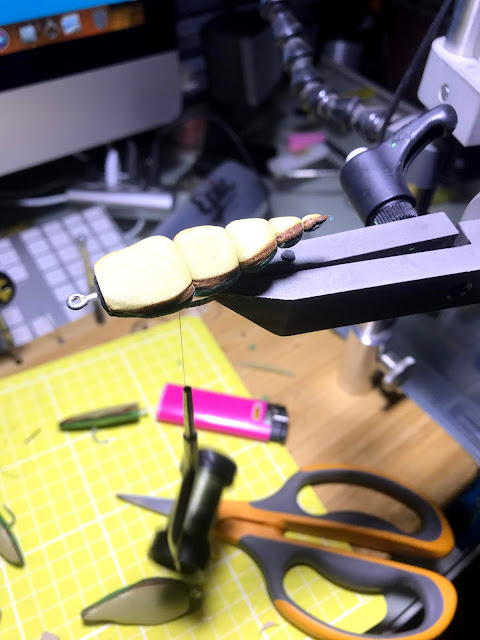
- Add the legs now( round rubber) and the wings (bucktail)

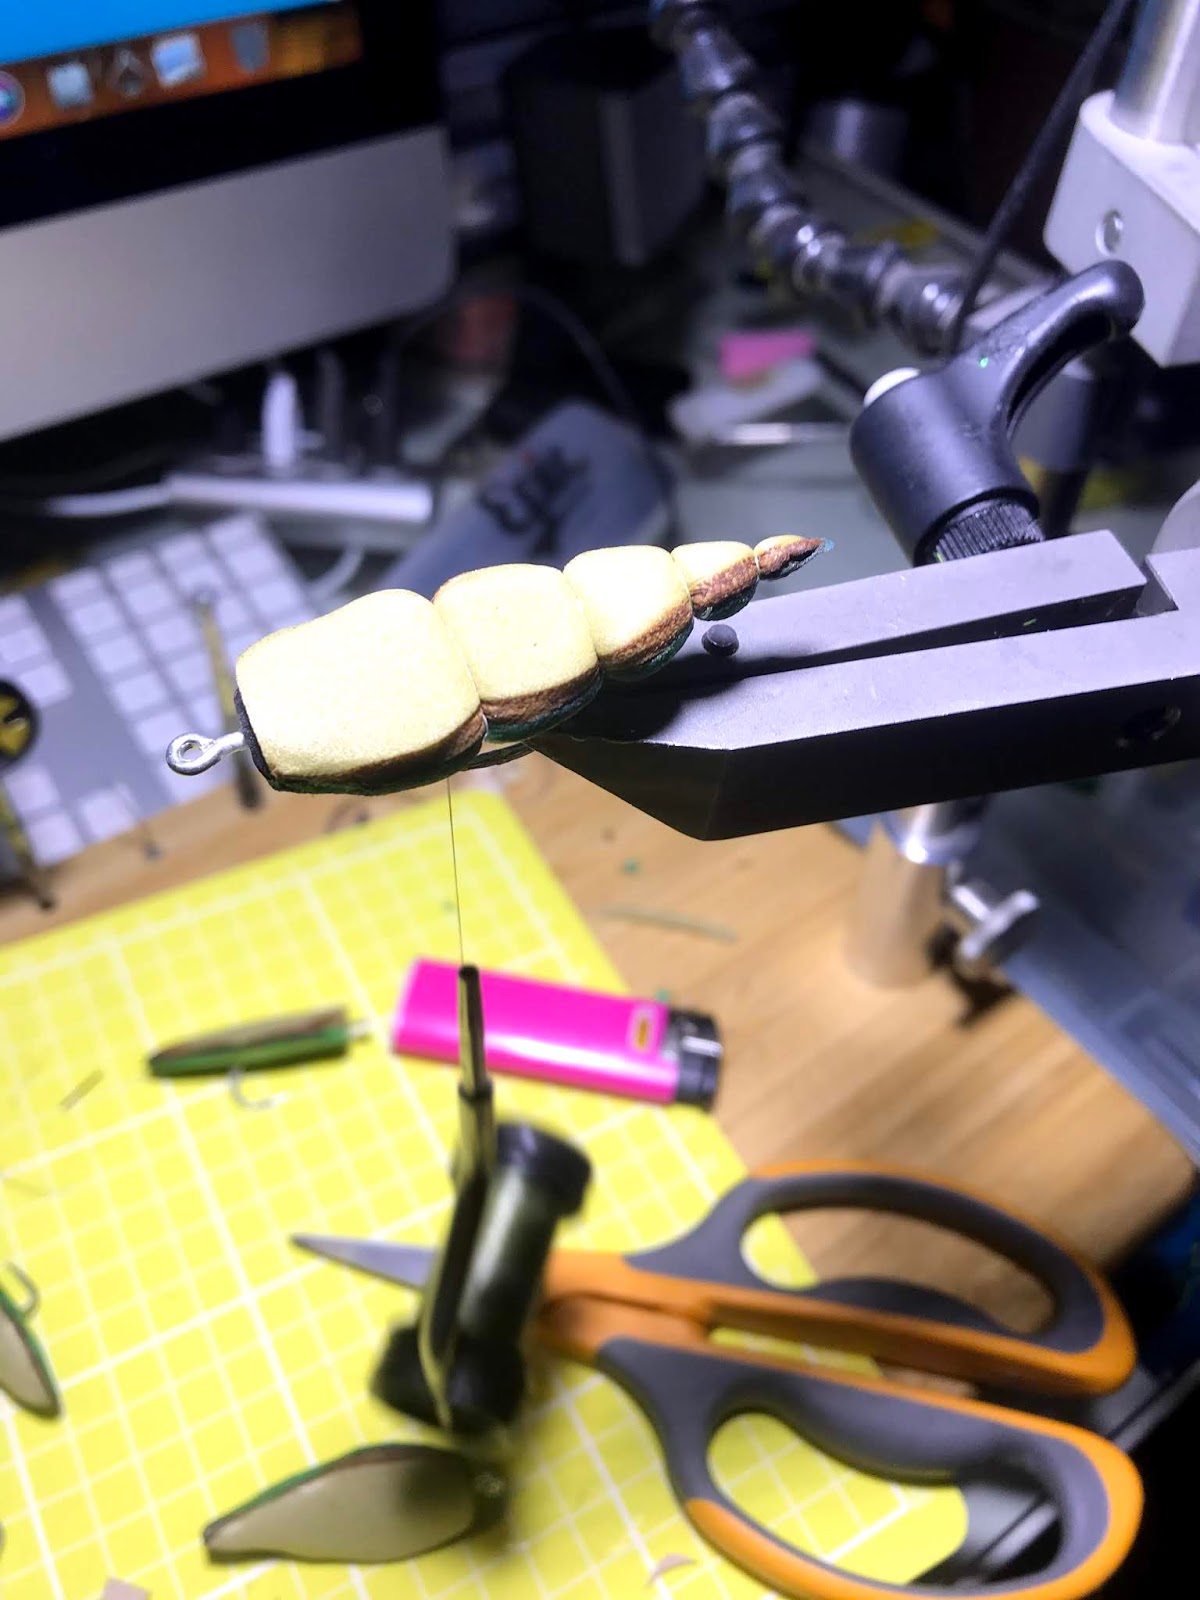

- Making the eyes is fairly straight forward, put two beads on some thick mono and burn to hold in place


- Tie the eyes in front of the foam body and cut the 2mm foam to make the head.This foam is cut like a long tear drop shape. Bring the thread forward a little (in front of the legs/wings part) Tie the narrow part of the "tear drop " underneath the measure where the eye of the hook need to come out. Burn this hole with a hot needle for a better finish.


- Nearly finished, bring the foam over the top of the head, pass the hook eye through the hole on the foam and secure with a few wraps directly behind the eyes. Bring the thread back a bit and secure an other section. The fly is now complete.Secure with some glue, add some details with a Sharpey and you're ready to fish!


- As i mentioned at the beginning, i'm hoping that these will get crushed on the Amazon, so they need to be strong and resilient.For this i add a thin coat of some Gorilla clear glue and let it spin and dry for a good two hours.


